Upgraded Piig

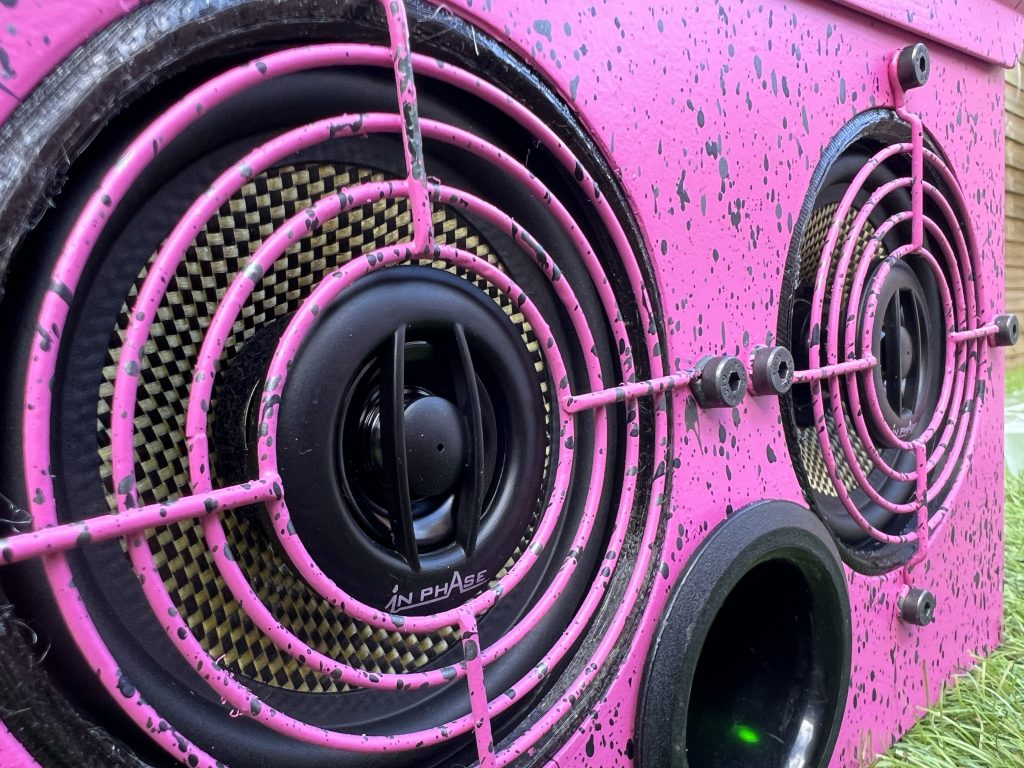
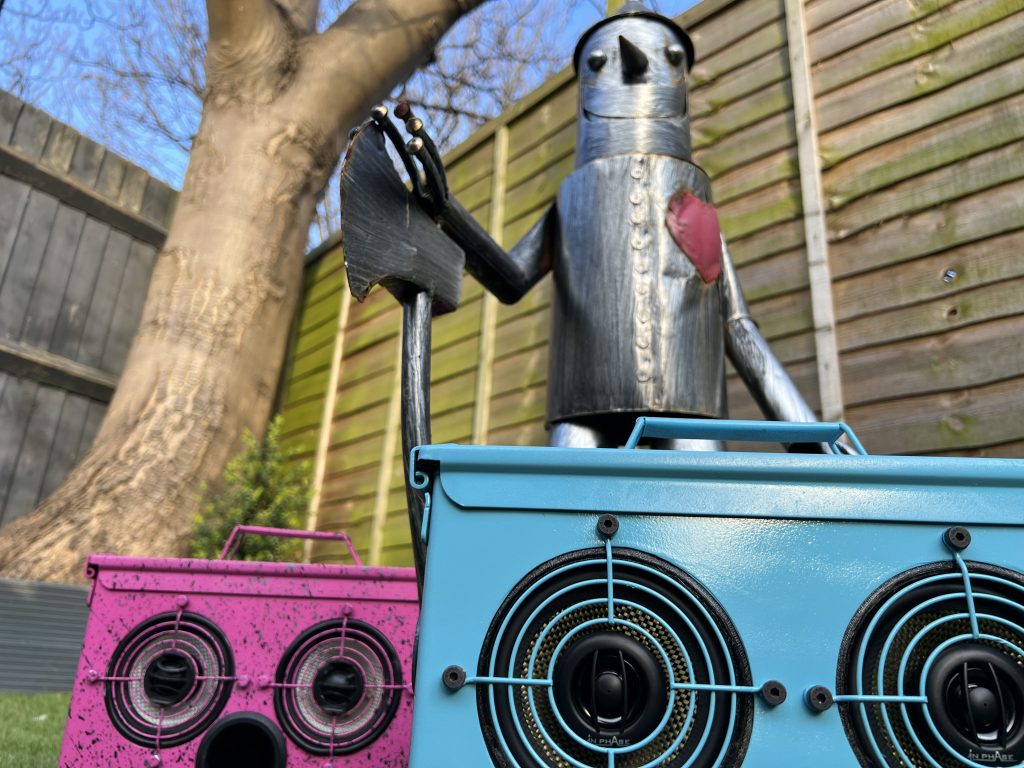
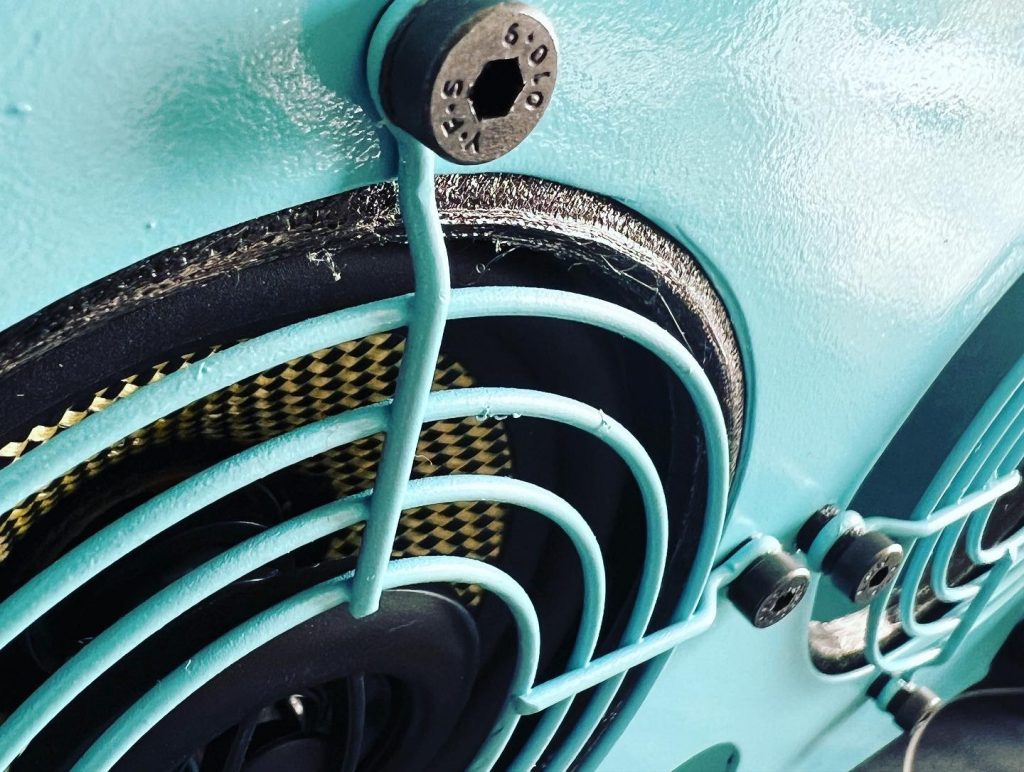
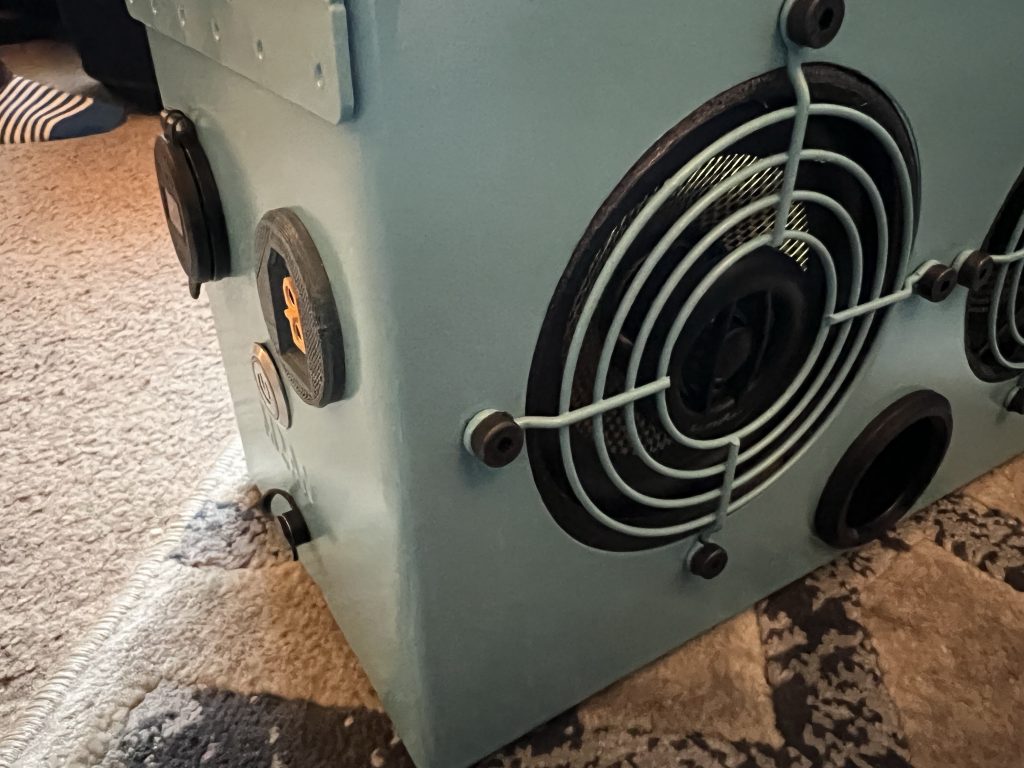
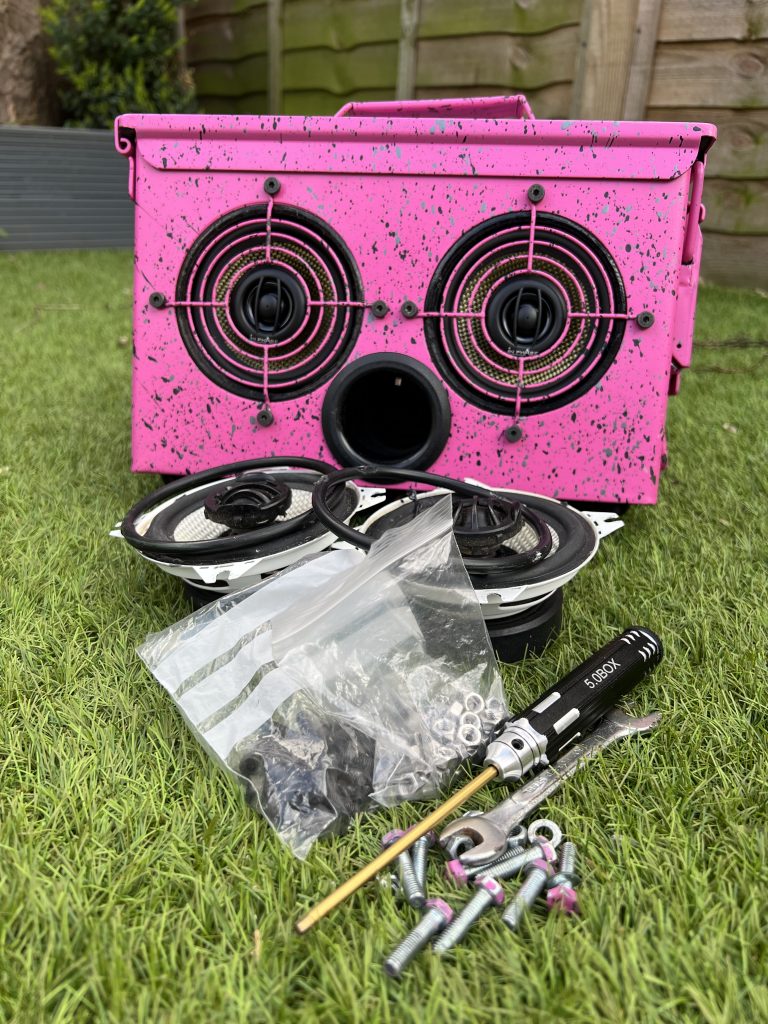
Every time I looked at the original PiigBox, I knew I’d end up upgrading it to V2 with 3D printed grommits for a better fit and look. So Easter Monday morning I bit the bullet and stripped the speakers out. I intended just replacing the rubber o-rings with 3D printed parts and new bolts.

But it soon became apparent that the rings were well and truley welded (glued) to the speakers and it ripped a very small section of the rubber cone. There was only one thing for it. New speakers. So I raided the store room, and added new bling to the house Piig.

Easter Piigs

I went on a easter egg hunt in the garden and found these 2 beauties. The pink one is mine and the gorgeous light blue Piig is a ‘Sounds & Charge’ shop stock model. If you’re following the blog, you’ll have seen it naked, with holes drilled, to prime, top coat, then final build stage.

The great thing about being a maker, is progress. Every PiigBox I make is better than the previous one. I learn lessons on hole cutting, sanding, priming, and final painting. My 3D printer has become an invaluable tool in making PiigBoxes. From PLA lithium ion cell holders and amp shelf, to flexible TPU speaker grommits which really have are now in version 28 😜…

It was a challenge putting powerful speakers into an ammo can and stop it rattling. So V1 PiigBox had 100mm rubber rings between the speaker and the case. I was never quite happy with them!!!!

So after 27 previous versions (Artistic licence used just a little bit) I settled on a full design which draws the speaker into the case really tightly.

One other flexible 3D printed part you can’t see is the 16 x 1.5mm washers which compress before and after the painted speaker grilles to protect the paintwork.

All of these flexible parts allow me to get the speakers nice and tight and ensure a rattle free experience. Well, until the bass rattles your teeth out……

The next evolution will be a power boost to the amp regardless of pack size (voltage). I have a step up converter in the original PiigBox which steps up from 12v to 18v to give the bluetooth amp a boost. I want to ensure 100% reliability, so need to pressure test a few parts before I make them standard.

Baby Blue piig

Etsy PiigBox

This is an Etsy store build which is being offered on a ‘ready to ship’ basis. Bathed in a beautiful light blue top coat, and finished in gloss clear coat.

It’s a 12v ‘Sounds & Charge’ PiigBox. With 20Ah lithium pack, 50w x 2 Bluetooth amp, paired to UK designed 4” Kevlar coned speakers. Dual usb sockets and XT60 socket finish off the package.

IO

Primed and ready…

Primed PiigBox

PiigBox comes alive once it’s painted. It’s no longer just an old tin can. It’s a tin can with holes in 🤣

Each PiigBox improves on the last, and one area I wanted to focus on was to make sure the speaker holes and nice and neat. The latest can has been sanded and primed and sanded back ready for another prime layer before final sanding and top coat.

One big challenge is to get colour to stick to the chrome grills. So I’m on the look out for painted grills for future builds.

Anyway, back to current build. This sweet beast is shop stock, so it’s getting a beautiful blue, which I’ll share once it’s finished.

Ohhh, it’s going to to have a 4S power plant too. So should be fine with all lipo chargers. Or just power your sounds for days…